 Once you have reached up to two-three inches of your desired final length, stop doing the lace repeats and work three rows of knit stitches, knitting over the purled decrease-triangles (they were only purled to keep them visually separate from the lace). On your fouth row, do a picot row: *knit1, yarnover, knit2tog*; then do another six rows of knit stitches, followed by another picot row; followed by another two rows of knit stitches. Now cast off.
Turn the work wrong-side out, and fold up the hem along the lowest row of picot holes. Slip-stitch the hem into place with the last of your wool. Weave in any dangly ends you can see using the TechKnitting tips to help you (they are AMAZINGly good).
Try on your dress right-side-out before blocking, to see which directions it needs to stretch and be moulded. Bear in mind that the lace will expand downwards a good way when blocked, outwards too.
 |
| N.B. the increase/decrease diamond has flattened out |

When your dress is dry, attach a safety-pin to one end of your ribbon, and using the blunt 'head' end weave approx. 1 metre of ribbon through all of the picot holes at the top edge and under the bust. Start at the centre, work your way round and cut leaving plenty of length for loosening the tension and for a bow. Trim the ends with the traditional triangle to discourage fraying, or carefully roll the ends back on themselves and secure with a few tiny stitches.
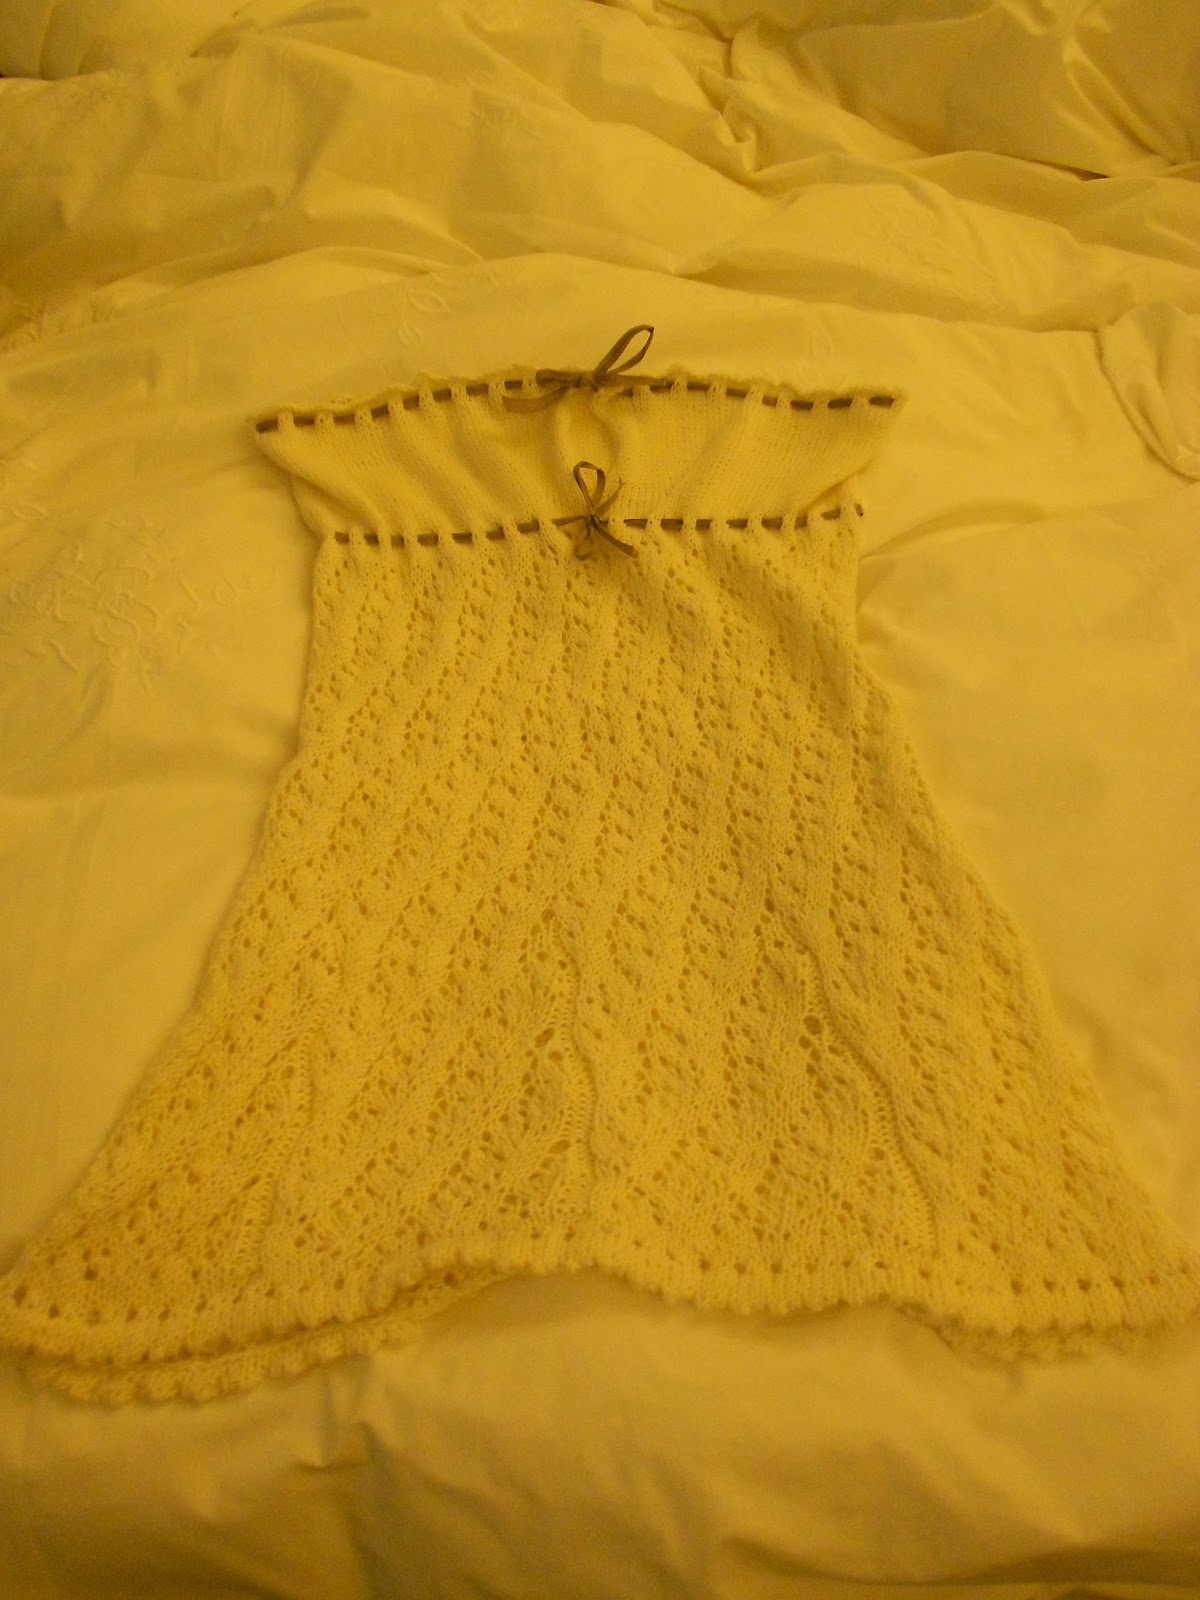
Done!
No comments:
Post a Comment